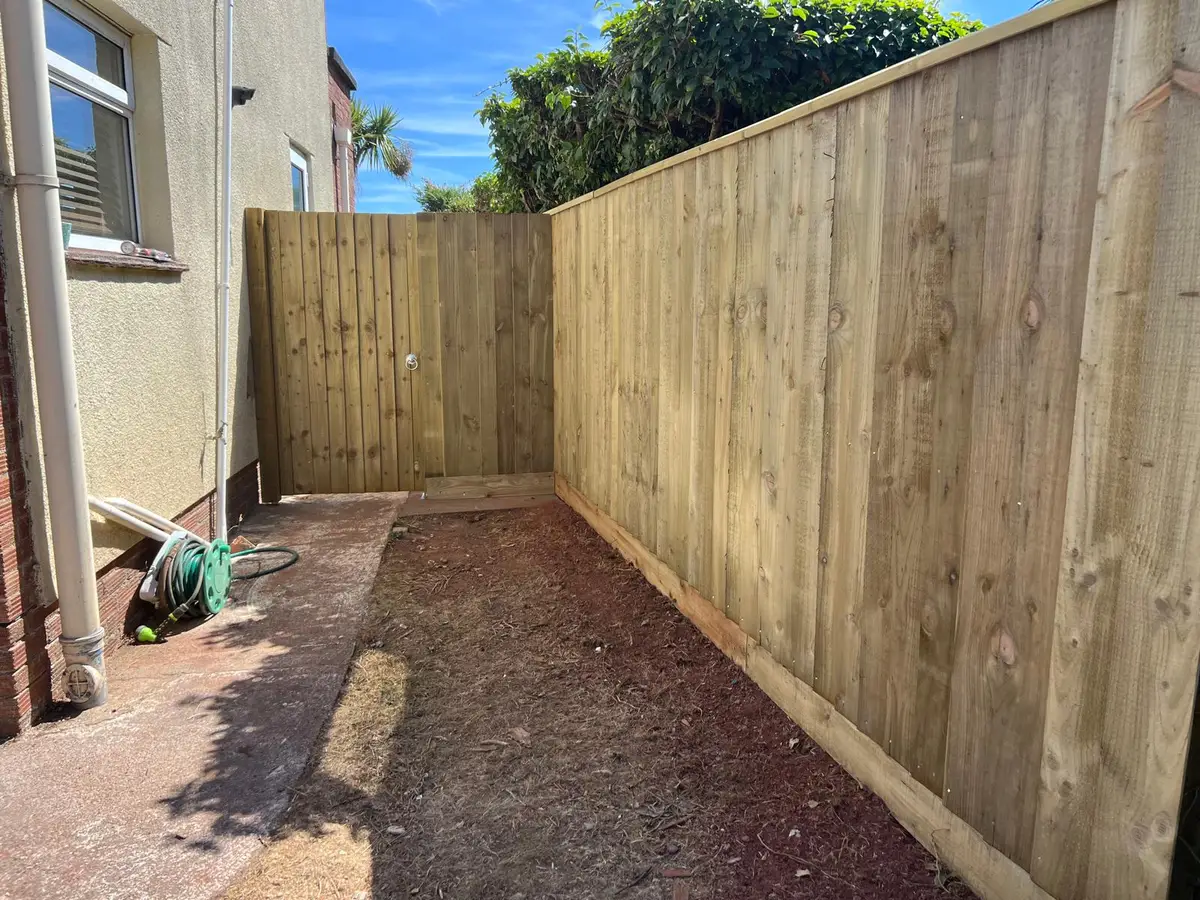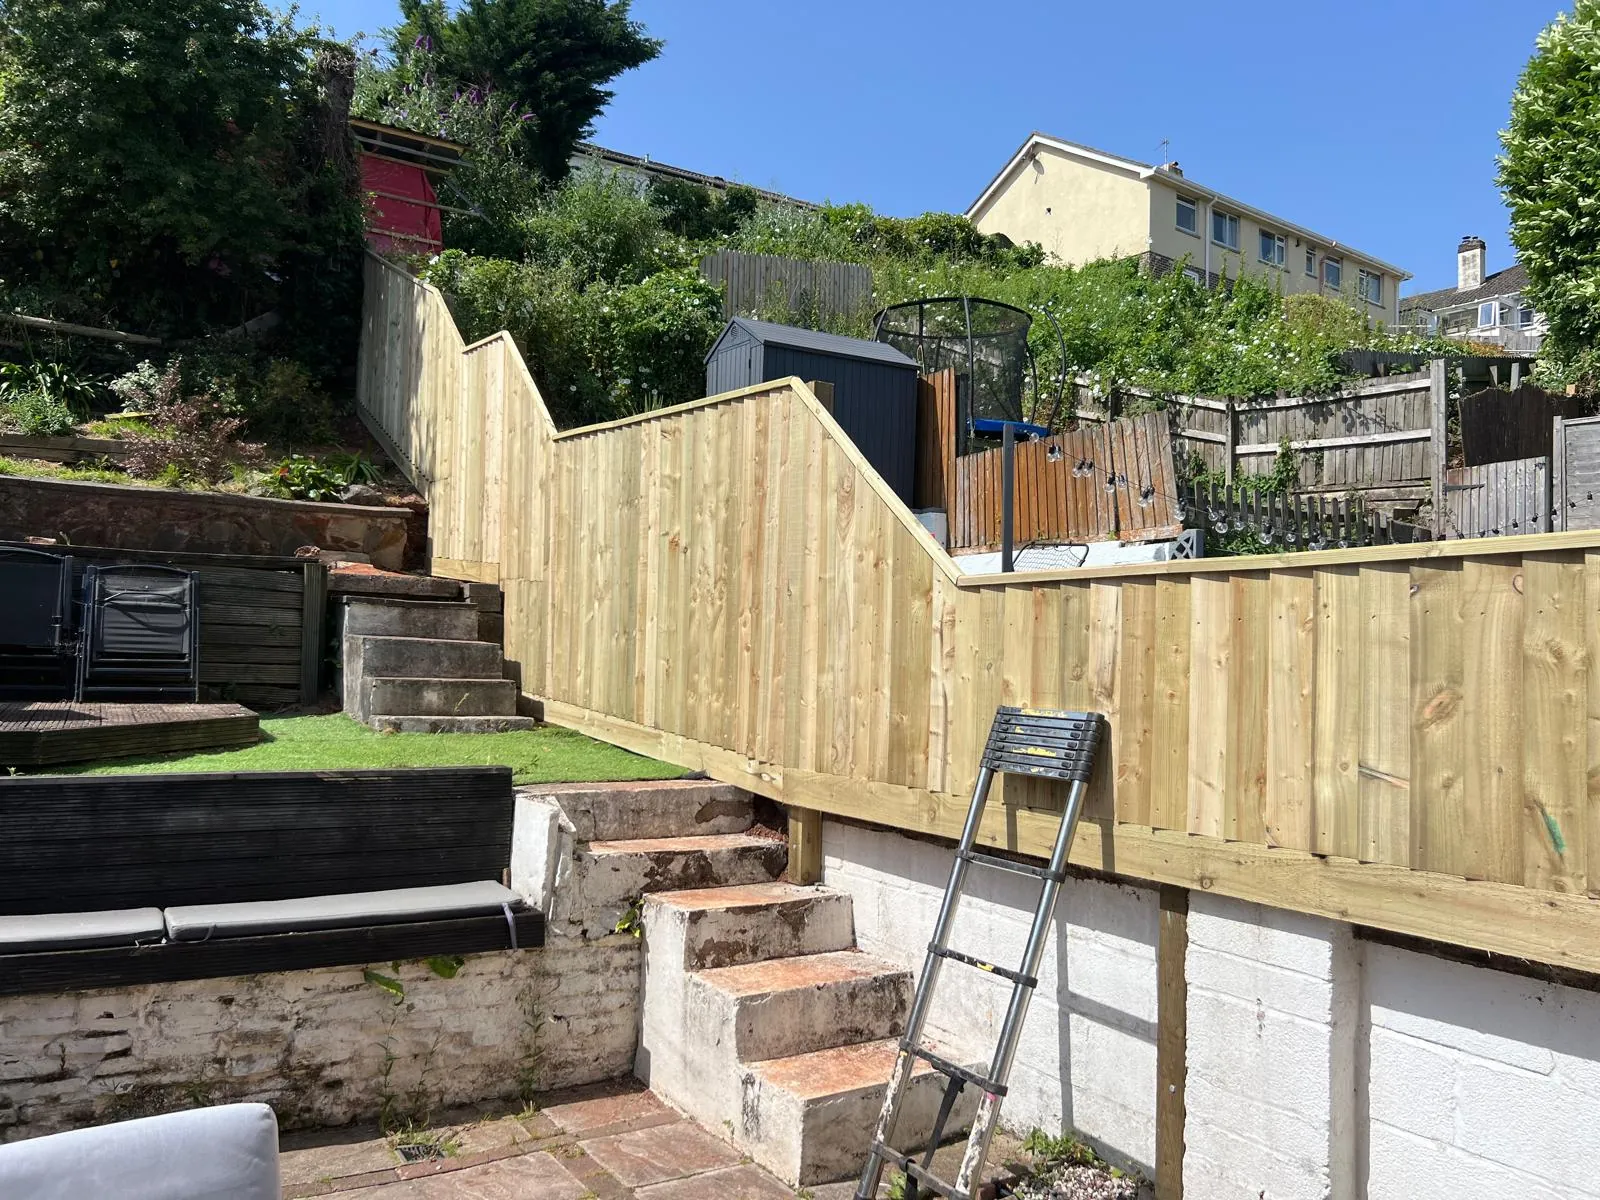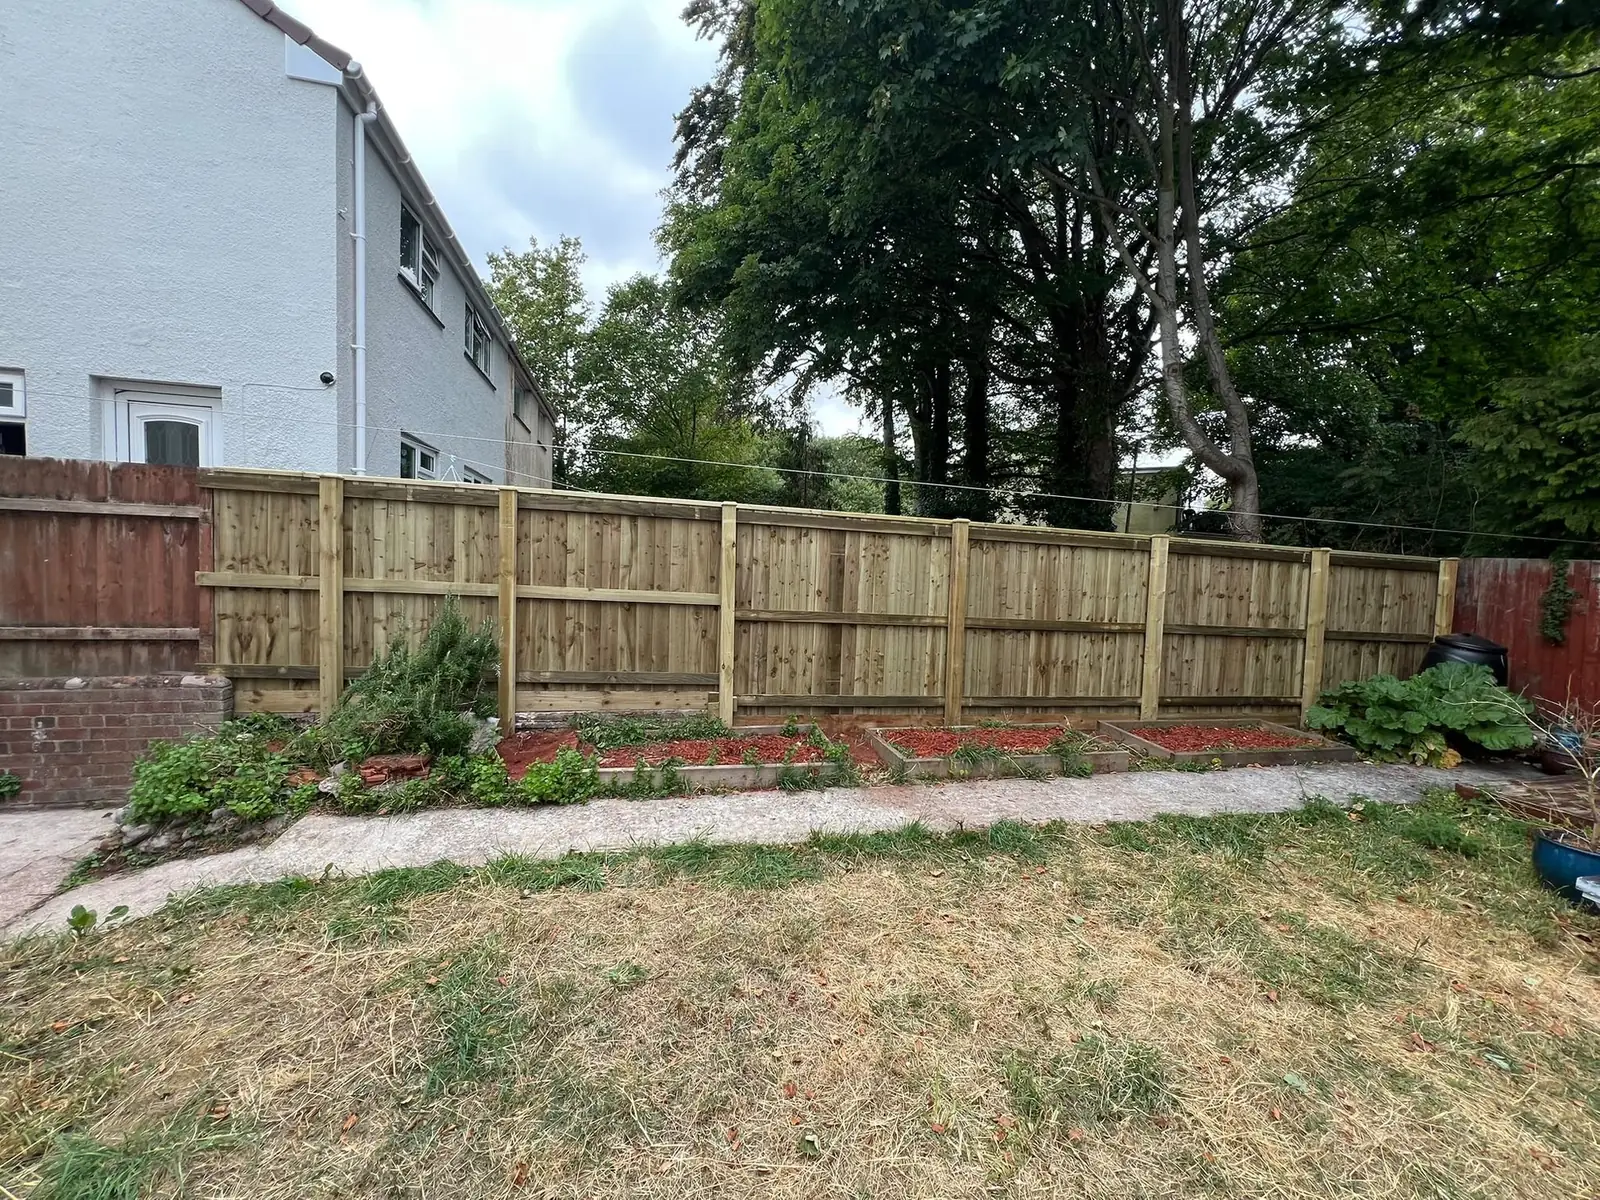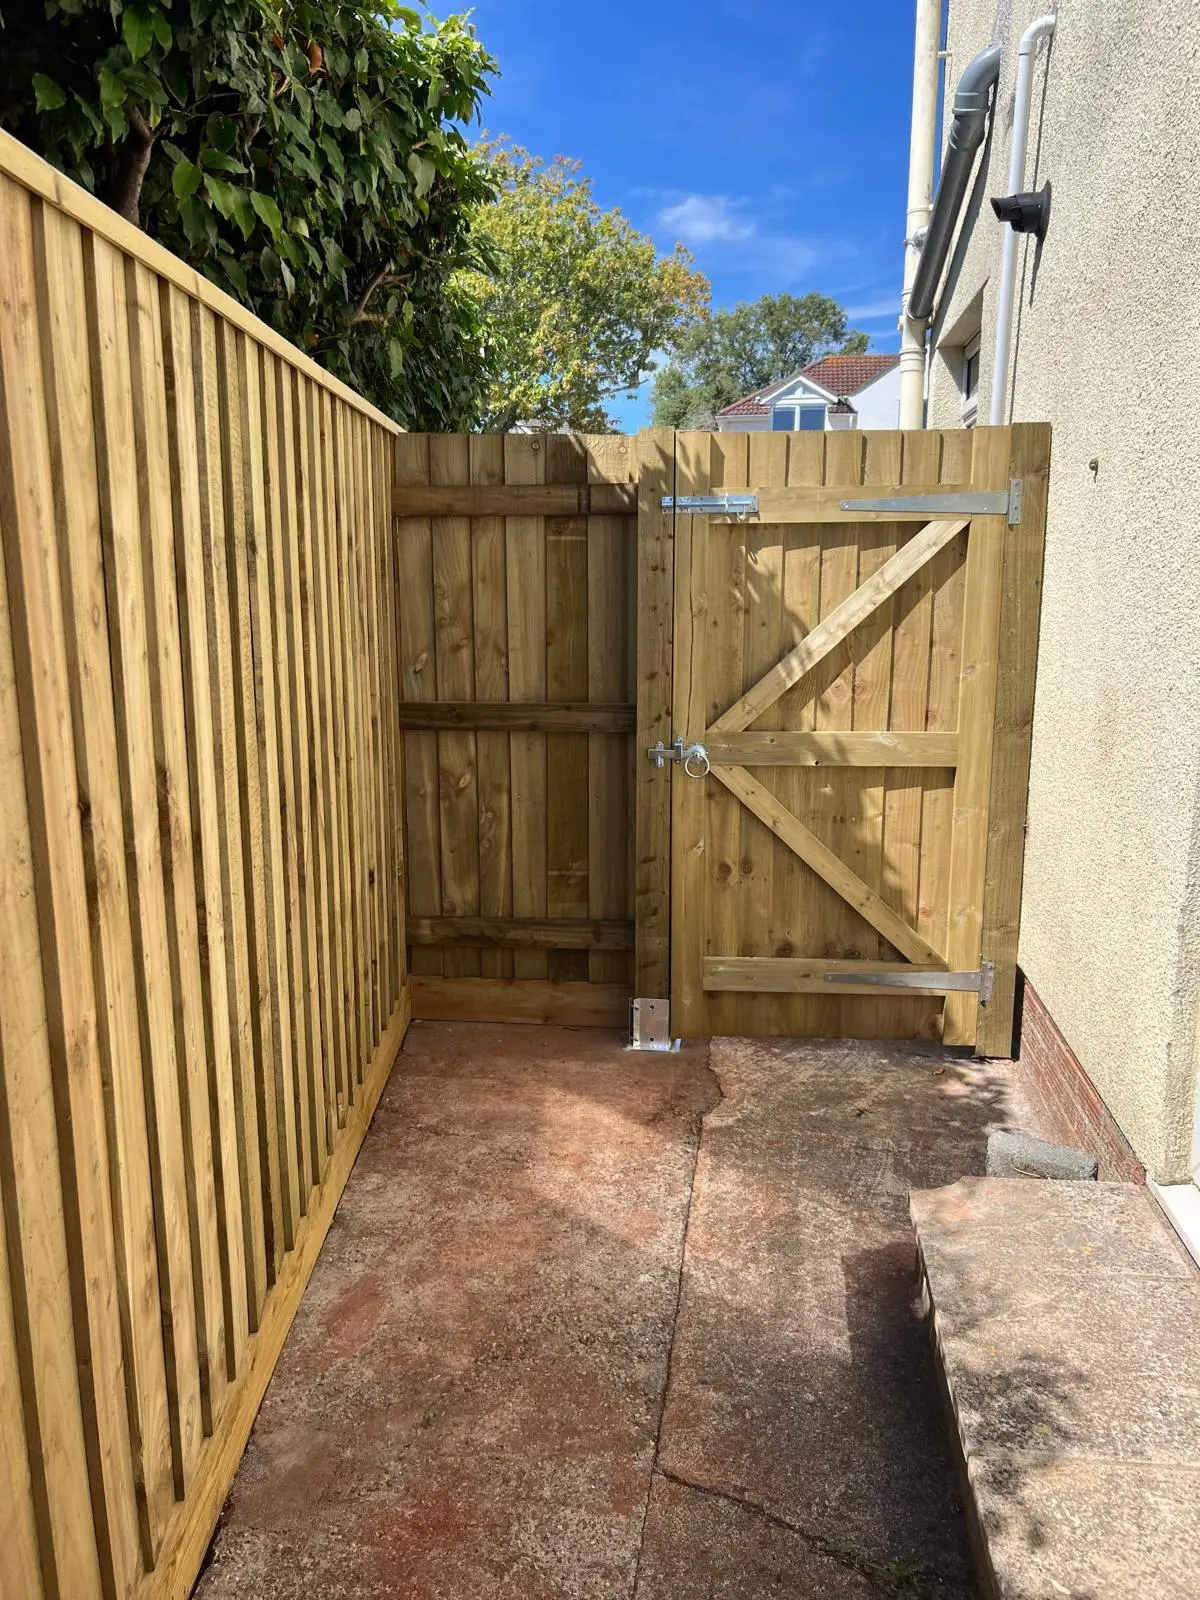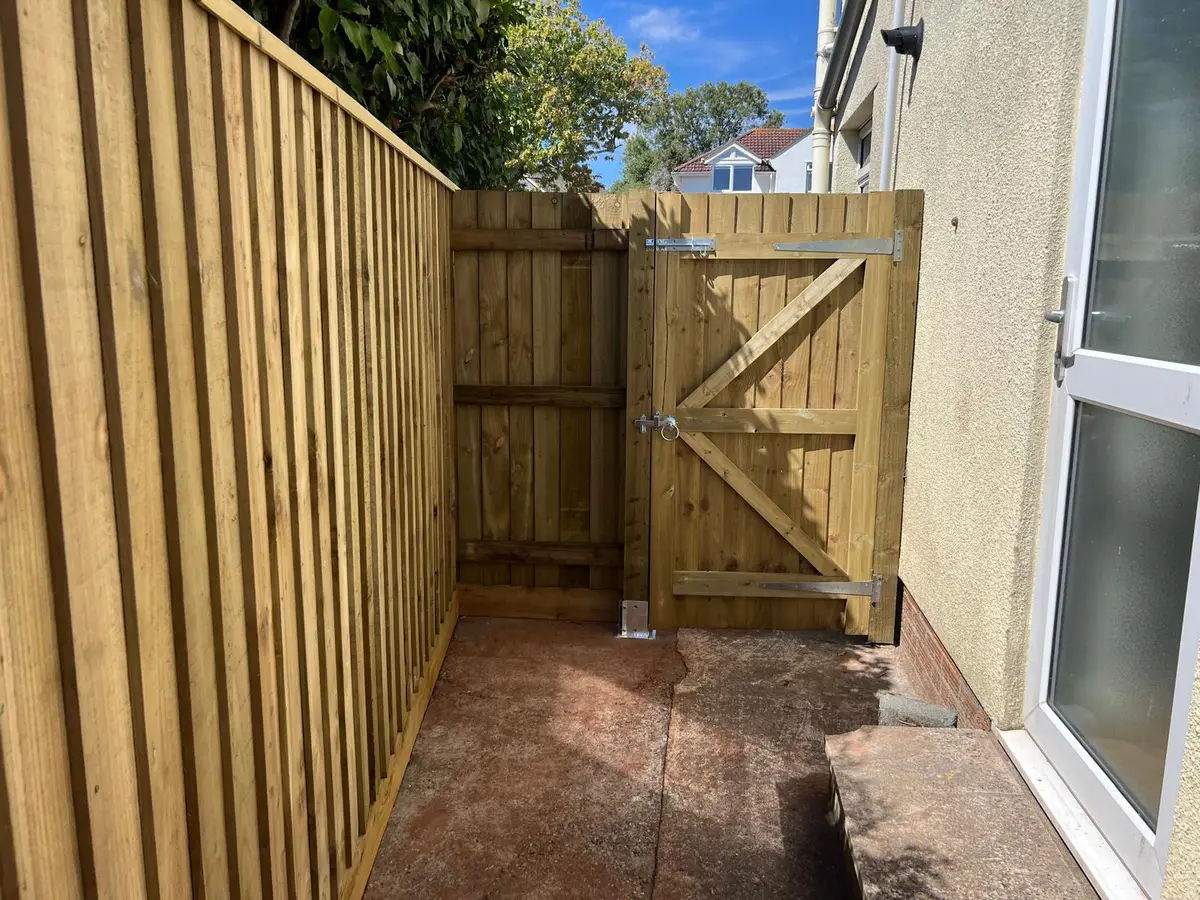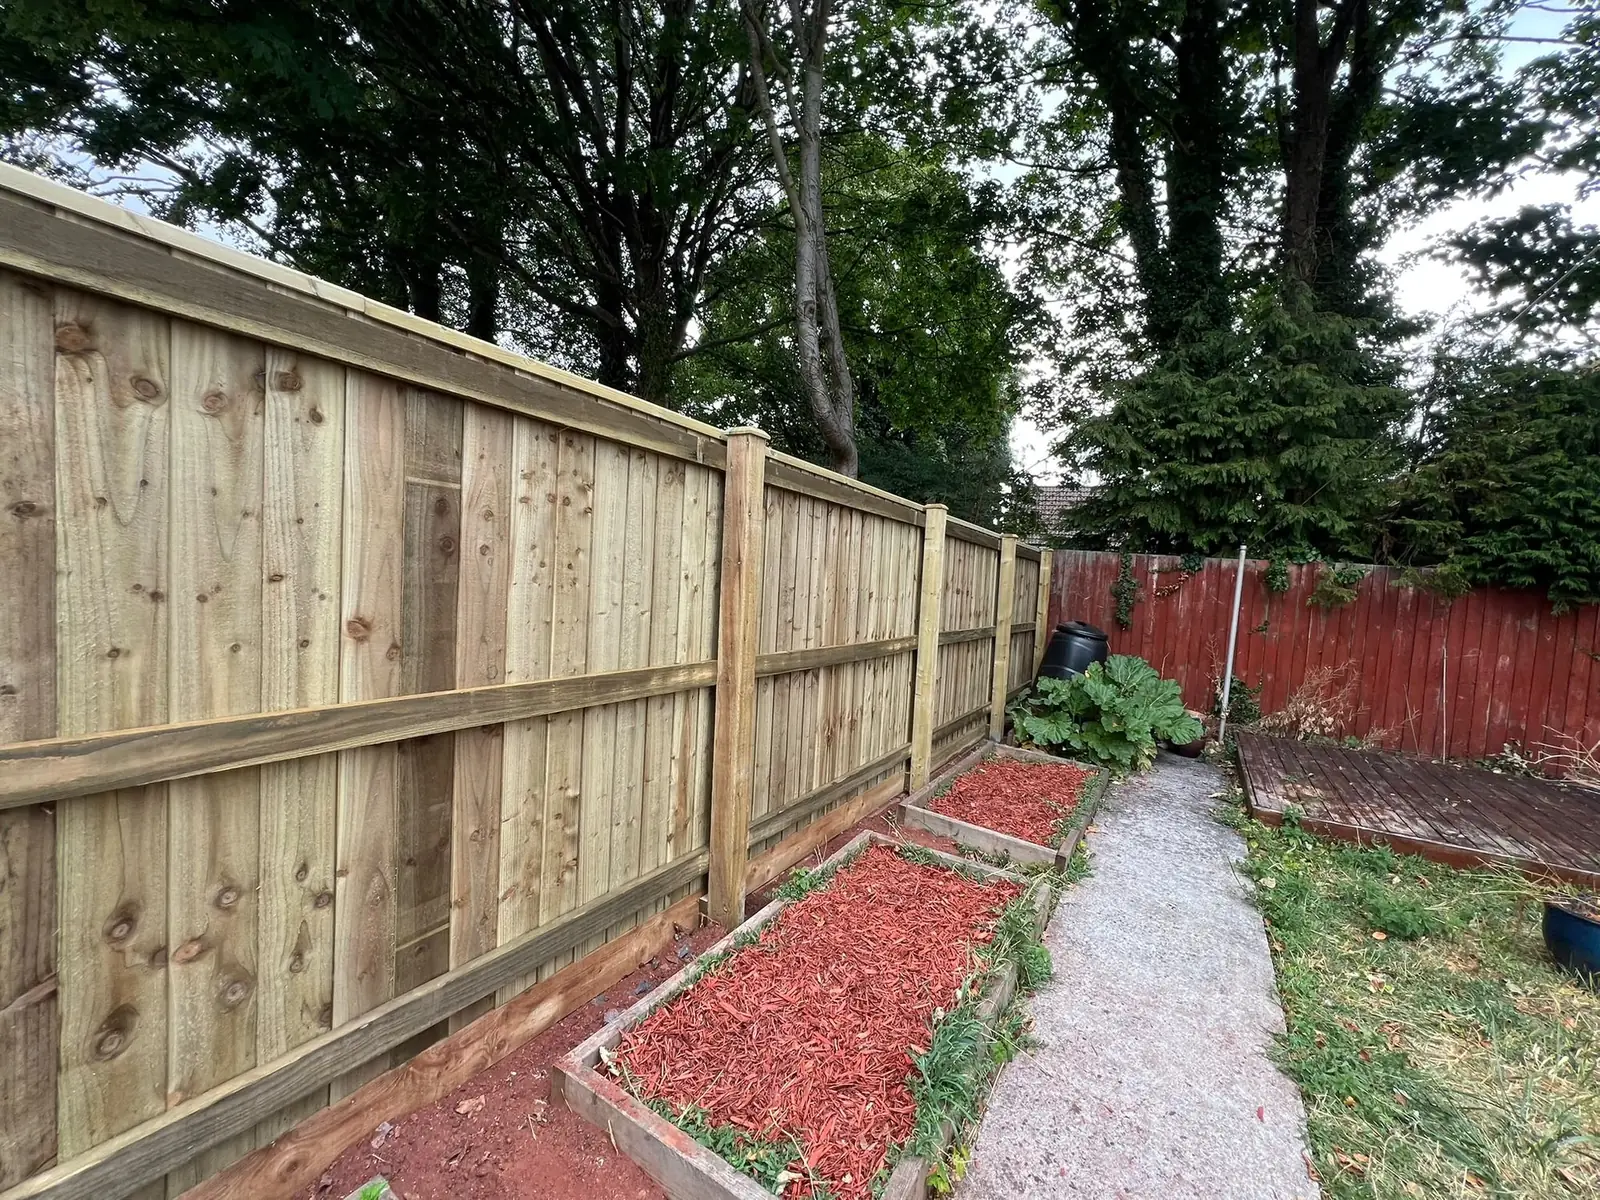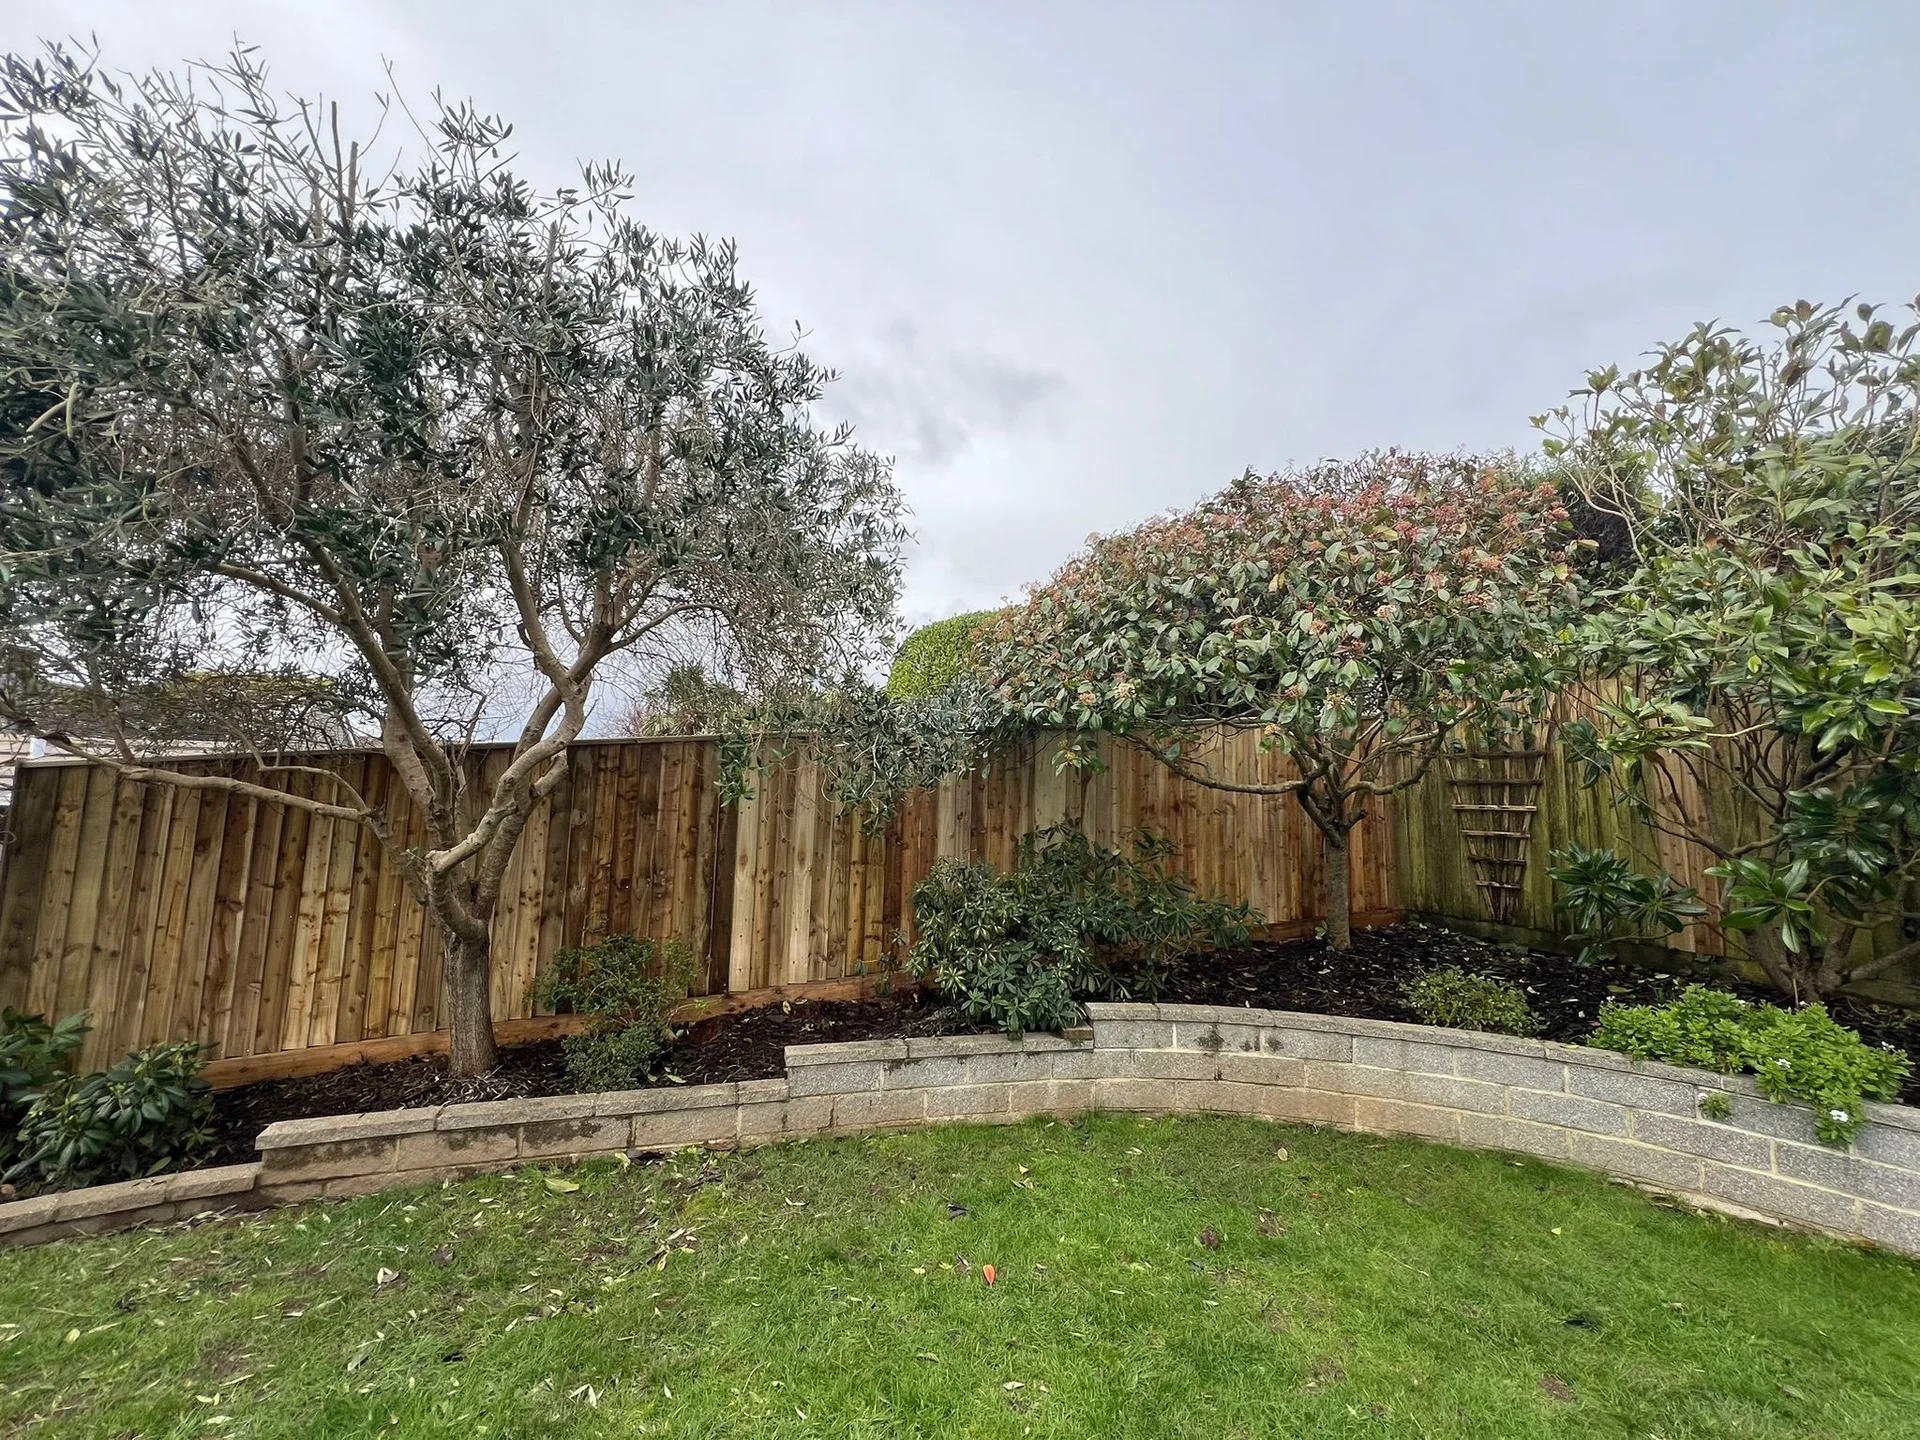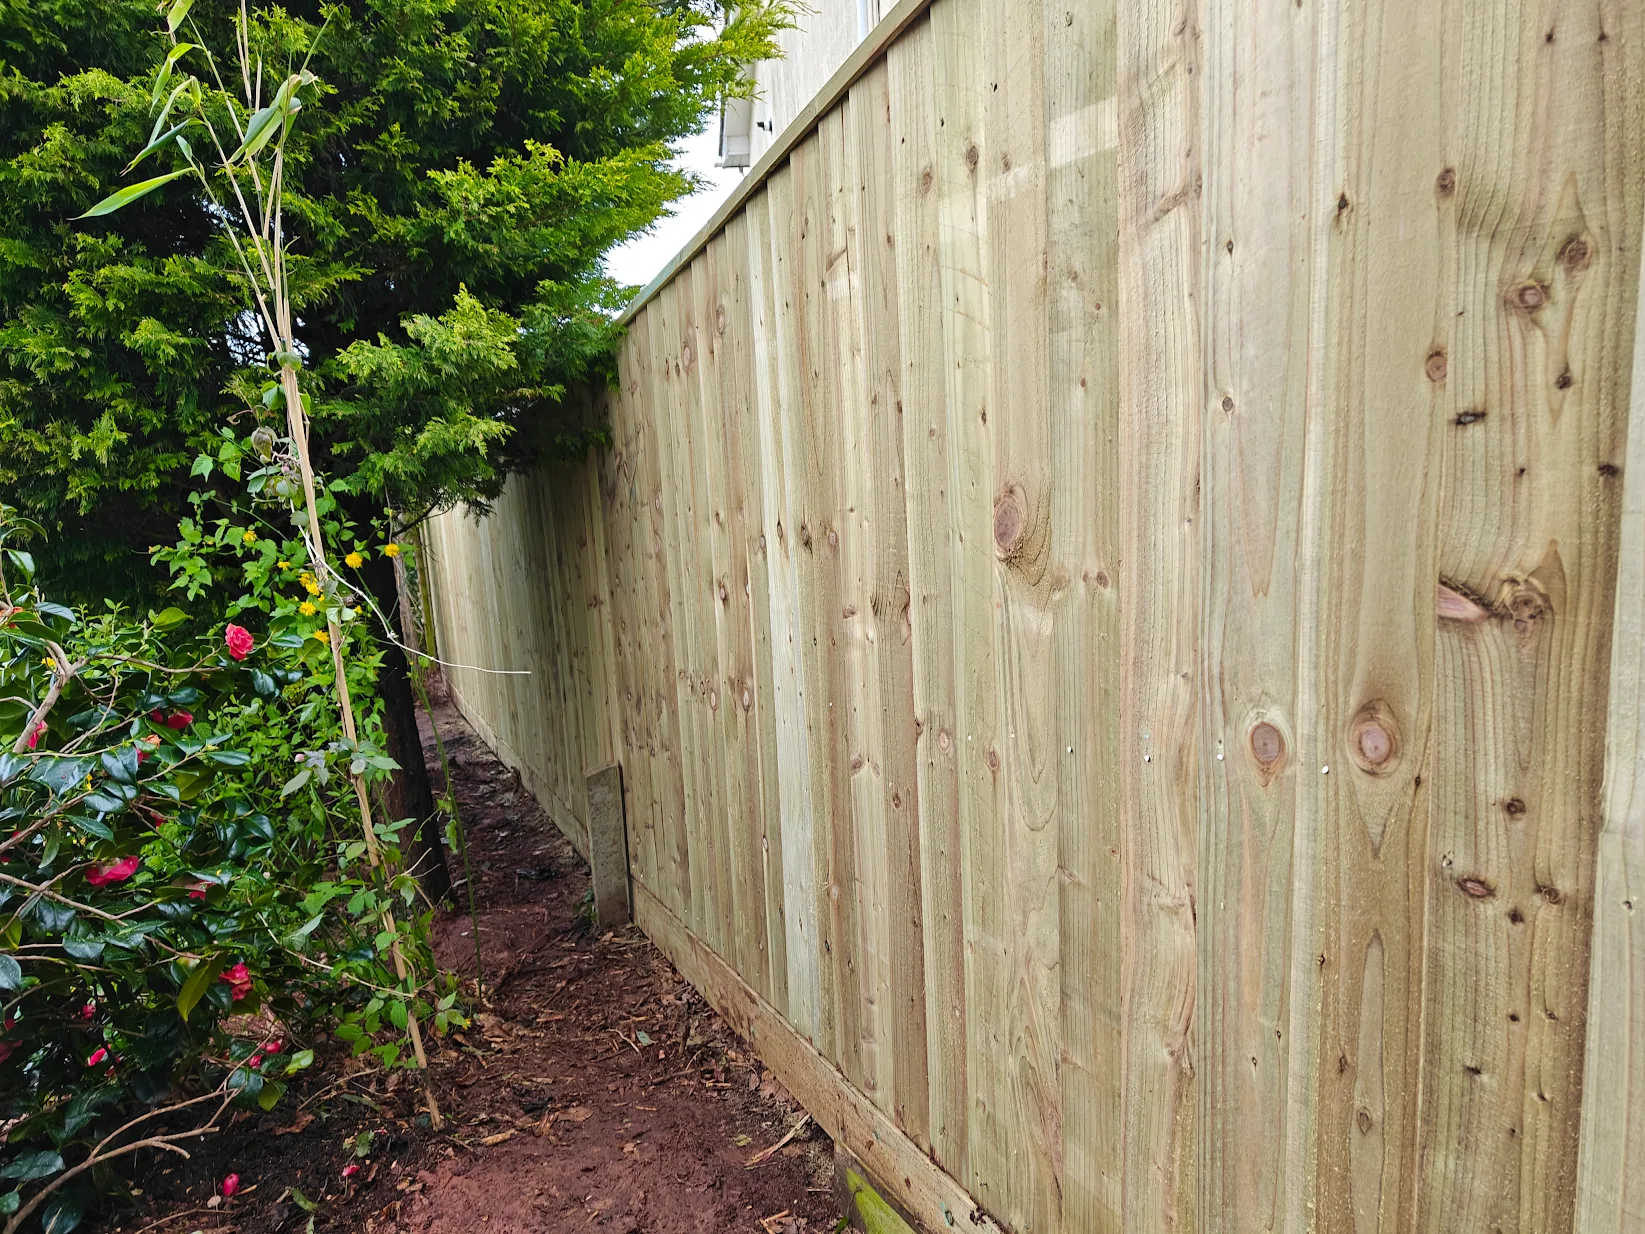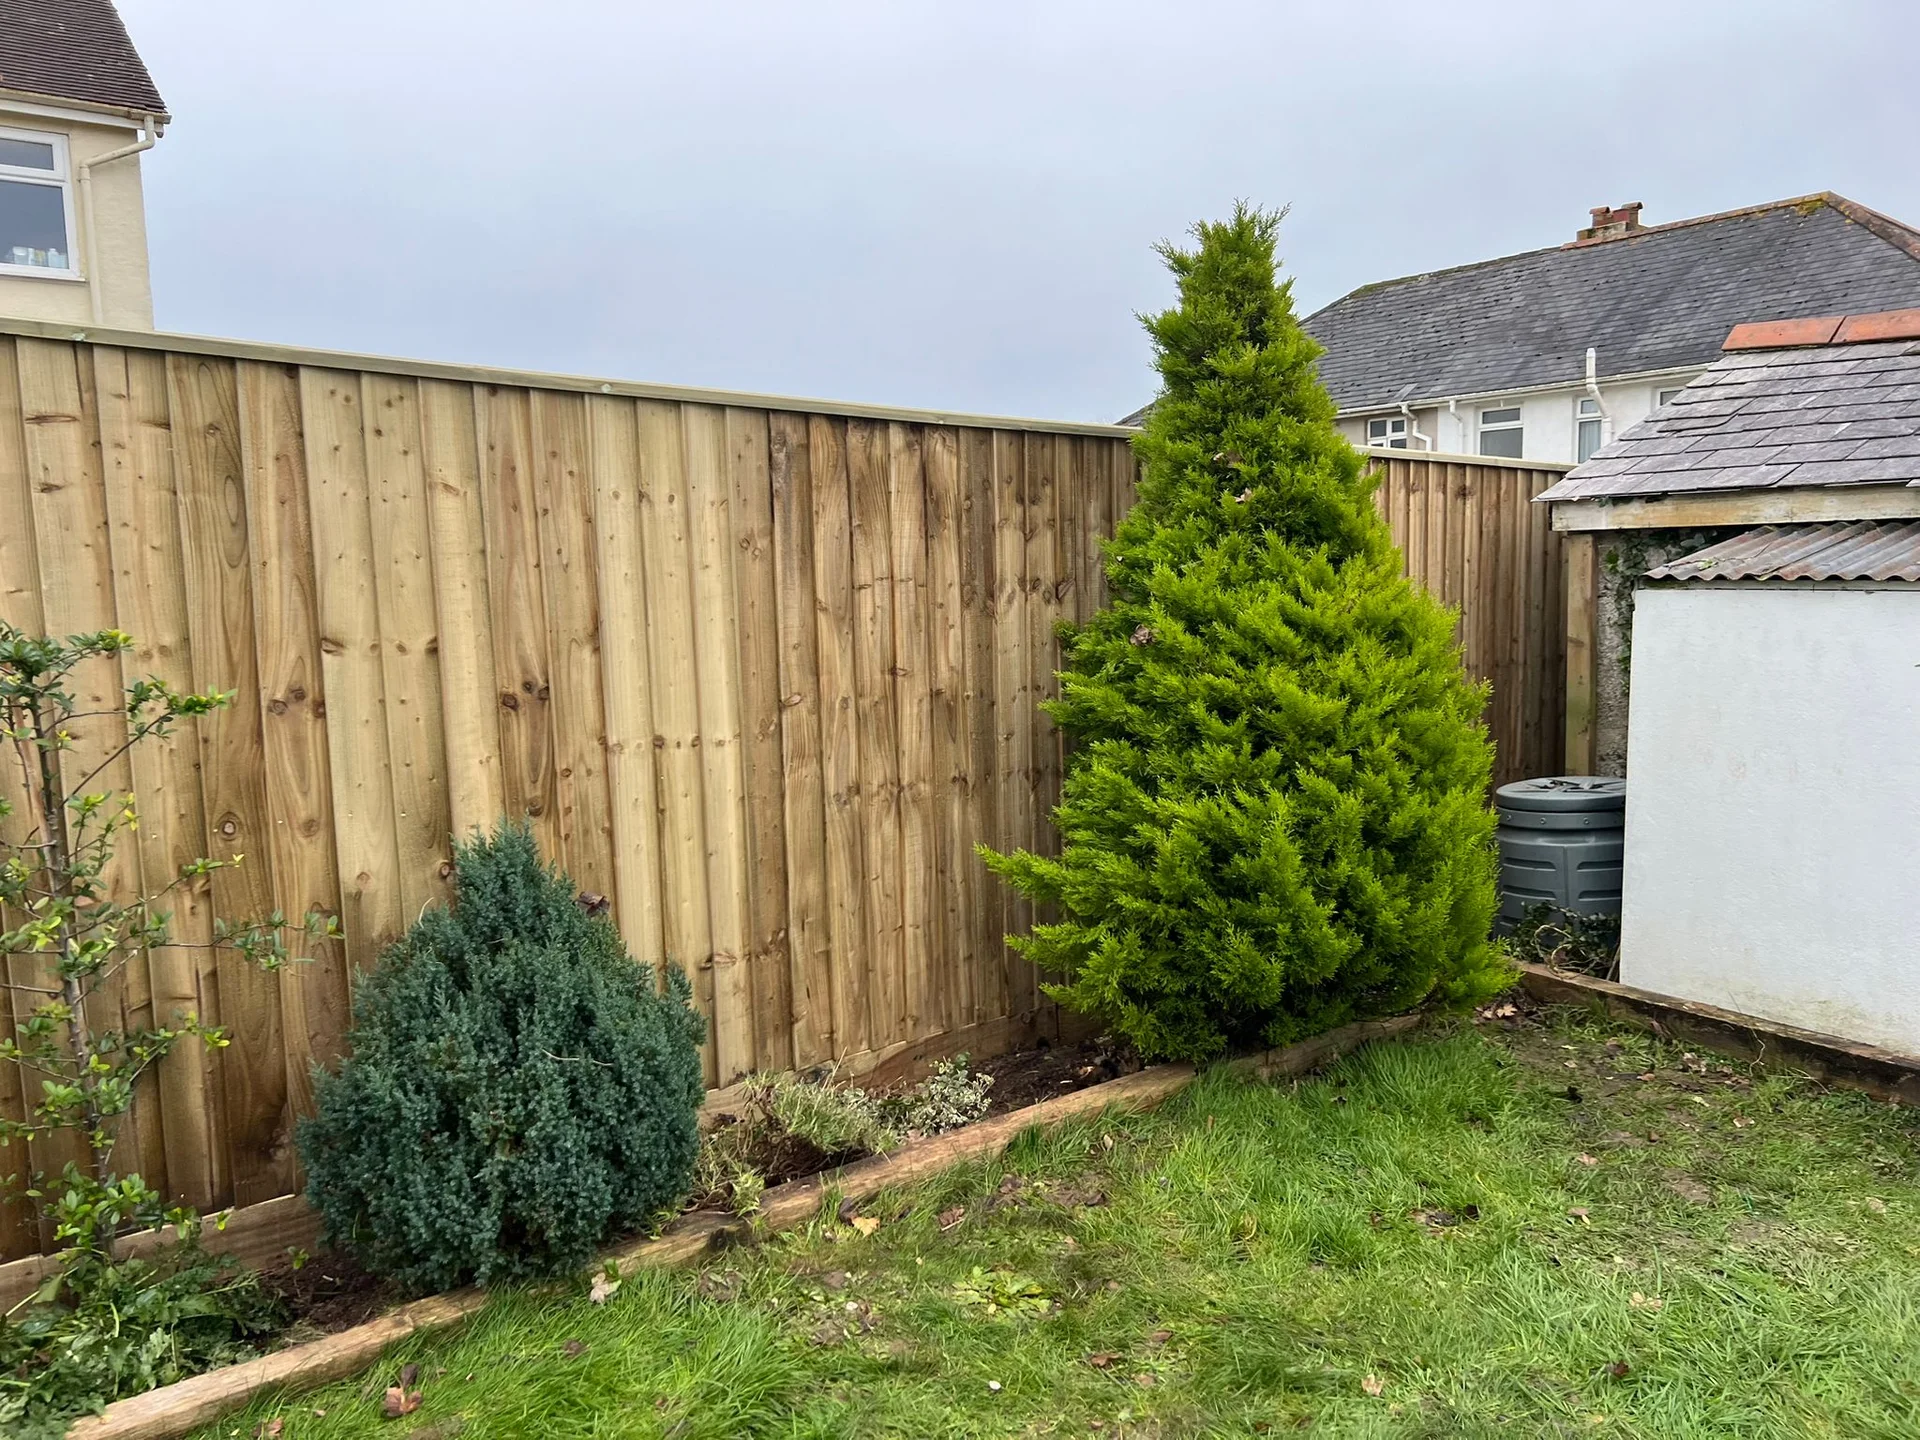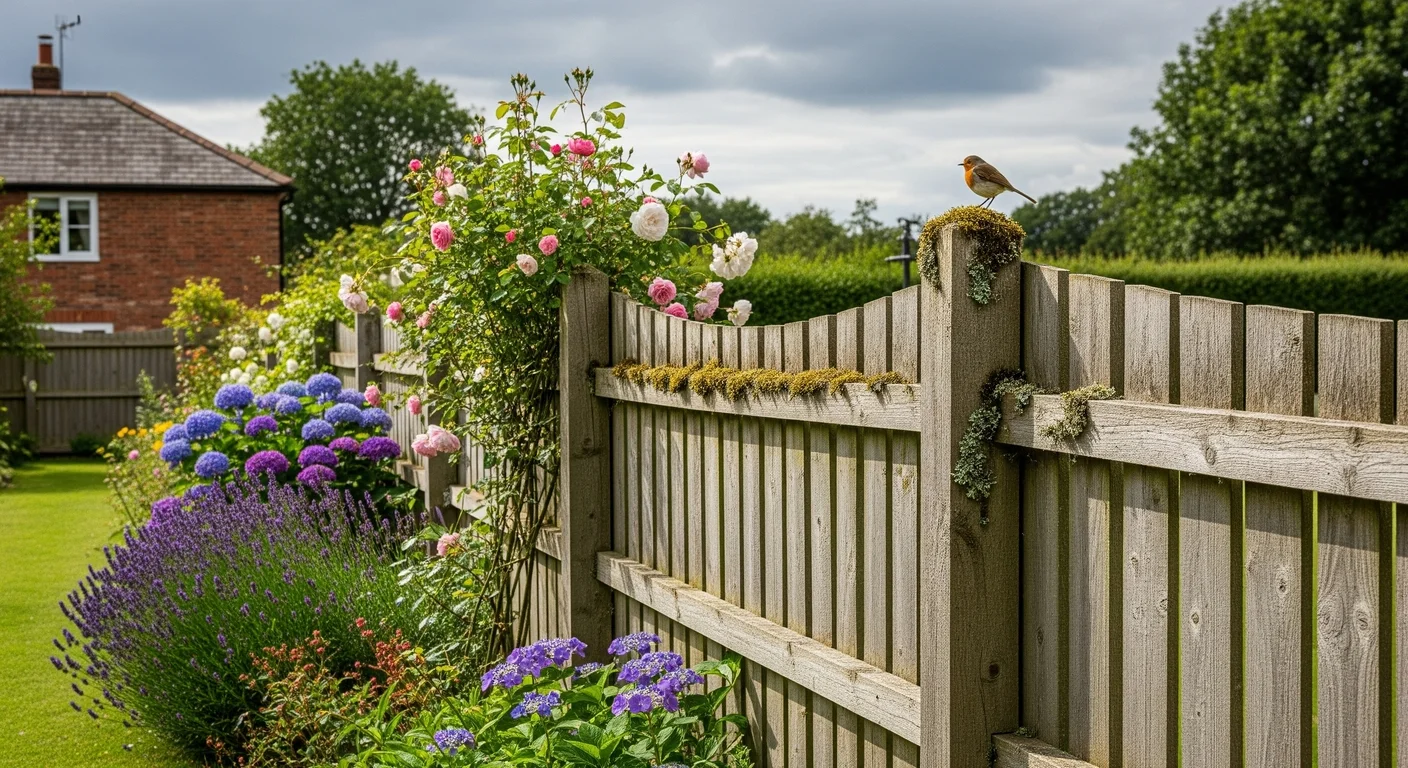
October is the month we always tell our customers to think about their fences. The weather is still mild enough to work outside comfortably, the days are long enough to get a proper job done, and there is still time to put things right before the first serious storms arrive. Once the winter gales start funnelling up the English Channel and hammering the Torbay coastline, any weakness in your fencing will be found out very quickly indeed.
We have seen the evidence every spring for years. The callouts in February and March are almost always for fences that had a minor problem in October, a loose post, a cracked gravel board, a section of timber that was starting to go soft, and that minor problem became a major one over the winter. A bit of preparation now can save you a significant amount of money and hassle later. In this guide, we are going to walk you through everything you should do to get your fence ready for the Devon winter.
Why October Is the Ideal Month for Fence Maintenance
There are three good reasons why October is the sweet spot for fence preparation. First, the timber is at its driest. Over the summer months, wood has had a chance to dry out, which means preservatives and stains will penetrate properly and do their job. If you apply wood treatment to damp timber, it sits on the surface and flakes off within months. In October, after a reasonable summer, the wood is ready to absorb treatment effectively.
Second, the weather is still workable. You need a dry window of two to three days to apply preservative and let it cure properly. In October, you can usually find that window without too much difficulty. By November, dry spells are shorter and colder, and by December you are racing against the weather to get anything done at all.
Third, you are ahead of the storms. The worst winter storms in Torbay typically arrive from December through to February. Getting your fence sorted in October means it has two months of curing and settling time before the real weather hits. That makes a genuine difference to how well the treatment performs and how secure any repairs will be.
Applying Wood Preservative and Stain
The single most effective thing you can do to extend the life of a timber fence is to apply a quality wood preservative every two to three years. Preservative does two jobs. It contains fungicides that prevent rot taking hold in the timber, and it water-proofs the surface so that rain runs off rather than soaking in. In Devon, where annual rainfall regularly exceeds 900mm and winter storms can dump weeks of rain in a few days, this matters enormously.
Choosing the Right Product
Not all wood preservatives are created equal. Look for a product that is specifically designed for exterior use and that contains both fungicides and water repellents. Spirit-based preservatives penetrate deeply and are excellent for bare or weathered timber, but they are smellier and require care during application. Water-based products are easier to use and cleaner to apply, but they may not penetrate as deeply into older timber.
If you want to change the colour of your fence at the same time, look for a combined preservative and stain. These products add pigment along with the protective treatment, so you get a fresh colour and protection in one coat. We tend to recommend mid-tone colours rather than very dark stains, because dark fences absorb heat from the sun and can cause the timber to expand and contract more dramatically, which stresses the boards and fixings over time.
How to Apply It
Start by cleaning the fence. Use a stiff brush to remove algae, moss, and loose debris from the surface. Pay particular attention to the bottom of the boards and the joints, where grime accumulates. If the fence is heavily green with algae, a quick wash with a mild bleach solution or a dedicated algae remover will clean it up, but make sure you rinse thoroughly and let the timber dry completely before applying preservative.
Apply the preservative with a large brush or a sprayer. A sprayer is faster for large areas, but a brush ensures better penetration into the grain and the gaps between boards. Work from top to bottom, and make sure you coat the top edges of the boards and the post tops, where water tends to sit. Two thin coats are better than one thick coat, because they build up protection without creating a surface film that can peel.
Drying Time
Most preservatives need 24 to 48 hours of dry weather to cure properly. Check the forecast before you start, and do not apply treatment if rain is expected within 24 hours. In October, you should be able to find a suitable window, but keep an eye on the weather apps. If you get caught out by an unexpected shower, you may need to reapply the affected sections once they dry.
Checking Post Tops and End-Grain Cuts
The end grain of timber is its most vulnerable point. When a post is cut to length, the exposed end grain acts like a sponge, drawing water down into the wood. This is the number one reason posts rot from the top down, long before the buried section gives up. The same applies to the top edge of feather-edge boards and the cut ends of rails.
Take a close look at all the post tops in your fence. If they are uncapped and the end grain looks grey and fissured, water has been soaking in. You can address this in two ways. First, apply a generous coat of preservative to the end grain, working it in with a brush so it penetrates deeply. Second, fit timber post caps. These are inexpensive, they shed water, and they dramatically extend the life of the post. If you want a belt-and-braces approach, use a preservative and then cap the post.
For cut board ends and rail ends, the same principle applies. Anywhere you can see exposed end grain, give it an extra coat of preservative. If you have any boards that were cut on site during installation and left untreated, these are the ones most likely to rot first, so prioritise them.
Inspecting Gravel Boards
Gravel boards are the horizontal timber or concrete panels that sit at the base of the fence, between the ground and the bottom of the boards. Their job is to keep the feather-edge boards clear of soil and vegetation, which prevents moisture wicking up into the timber. Without gravel boards, the bottom of a closeboard fence will start to rot within a few years, no matter how well the rest of it is treated.
Check that your gravel boards are sound. Timber gravel boards should be firm, not spongy. Press a screwdriver into the wood gently. If it sinks in easily, the board is rotting and should be replaced. Concrete gravel boards are more durable, but check for cracks. A cracked concrete board can still do its job for a while, but it will eventually fail, and it is better to replace it now than after it has collapsed and taken a section of fence with it.
Make sure the boards are not buried in soil. Over time, soil builds up against gravel boards as gardens are mulched, borders are extended, and ground levels rise. If the soil is above the top of the gravel board, it is in contact with the fence boards, and rot will follow. Dig away any soil that has built up so there is a clear gap between the ground and the bottom of the fence.
Trimming Overgrown Plants
This is a job that gets overlooked surprisingly often. Climbing plants, ivy, and overgrown shrubs growing against a fence might look attractive in summer, but they are a serious problem in winter. They trap moisture against the timber, blocking airflow and preventing the wood from drying out between rain showers. They also add significant wind load. A fence covered in ivy presents a much larger surface area to the wind, and in a winter storm, that extra load can be enough to push over a fence that would otherwise have survived.
Cut back any plants that are growing against or over the fence. Ivy should be stripped from the boards, not just trimmed, because it holds itself in place with tiny rootlets that damage the surface of the timber. Climbing roses and clematis can be trained on a trellis attached to the fence rather than on the fence itself, which keeps the plants without letting them compromise the timber.
Pay particular attention to trees near the fence line. Branches that overhang the fence can break in high winds and crash through the panels. If you have trees near your boundary, especially larger species around Cockington Country Park or the wooded lanes of Shaldon, have them checked and pruned if necessary. A falling branch will do more damage in five seconds than ten years of weather.

Checking Post Stability
Walk the full length of your fence and test every post. Give each one a firm push at chest height. A solid post will not move. If you feel any wobble, even a slight one, that post is a candidate for failure over the winter. Posts become loose for several reasons. The concrete around the base may have cracked or eroded, the post may have started to rot at ground level, or the ground itself may have shifted, particularly on sloping sites with heavy clay soil.
A slightly loose post can sometimes be stabilised by packing fresh concrete around the base, but this is only a temporary fix if the post is rotting. If the timber at ground level is soft, the post needs to be replaced. This is a bigger job, but it is far cheaper to replace one post in October than to replace a post and three panels in January when the whole section has come down in a gale.
If you have concrete posts, check the bases for signs of movement. Concrete posts do not rot, but they can lean if the ground is soft or if water has eroded the concrete footing. A leaning post puts stress on the entire fence line, so address it before it becomes a bigger problem.
Fixing Loose Panels and Boards Before Storms
If you have panel fencing rather than closeboard, check that every panel is securely seated in its posts. Panels that have been lifted by previous winds and dropped back in place may not be sitting properly on the gravel boards, and a panel that is even slightly loose will work its way free in the next storm. Secure any loose panels with panel clips or galvanised brackets screwed to the posts.
For closeboard fencing, check for loose or missing boards. A single missing board may not seem urgent, but it creates a weak point where wind can get behind the fence and start working on the boards either side. Replace any missing boards and re-nail any that have come loose. Use galvanised or stainless steel nails, not plain steel, which will rust in our coastal air within a season.
Check the rails too. If a rail has come away from the post, the boards fixed to it are effectively unsupported and will be the first to go in a storm. Re-fix loose rails with galvanised brackets or cleats, and make sure the fixings are going into solid timber, not into rot.
The Coastal Factor
If you live within a mile or two of the Torquay seafront, your fence faces an additional challenge over winter. Salt spray carried on the wind deposits salt on the timber and the metal fixings, which accelerates both rot and corrosion. After a winter of storms, a fence on Marine Drive or along the Preston seafront can look ten years older than an identical fence sheltered inland.
For coastal properties, the winter preparation routine is even more important. Wash the fence down with fresh water before applying preservative, to remove salt that has accumulated over the summer. Pay extra attention to the metal components. Check all nails, screws, and brackets for signs of rust, and replace any that are corroding with stainless steel equivalents. A preservative that contains a water repellent will help to wash salt off the surface in future rain, rather than letting it sit and do damage.
A Quick October Checklist
To make this easy to follow, here is a summary of what you should do this month:
- Clean the fence with a stiff brush to remove algae and debris
- Apply wood preservative or combined stain to all timber surfaces
- Pay special attention to end-grain cuts and post tops
- Fit post caps if you do not already have them
- Check gravel boards for rot and replace any that are spongy
- Clear soil and vegetation away from the bottom of the fence
- Cut back climbing plants and overhanging branches
- Test every post for stability and address any that are loose
- Replace any missing or damaged boards
- Check and re-fix any loose rails or panels
- Inspect metal fixings for rust and replace as needed
If you work through this list in October, your fence will go into winter in the best possible condition, and you will dramatically reduce the chance of a callout in February.
When to Call a Professional
Some of these jobs are well within the scope of a competent DIYer. Applying preservative, trimming plants, and clearing soil are all straightforward tasks. But if you find rot in your posts, cracked gravel boards, or structural issues with rails and panels, it is usually better to get a professional in. A botched repair can make things worse, and working on a fence in October weather is less appealing than it sounds if you are not used to it.
We offer a winter preparation service across Torbay and the surrounding area, from Torquay to Teignmouth and Newton Abbot. We will inspect your fence, carry out any necessary repairs, and apply preservative so your fence is ready for whatever the winter throws at it.
Related services: Emergency Fence Repair
Give Joe a call on 01803 494348 or visit our contact page to book a fence check before the winter weather arrives. It is a small investment now that can save you a much bigger one later.